TL;DR: The lever before the labor
This QuickStart distills the 80/20 of creating a Google Ads account, zero platform fluff, only the levers that matter.

Pour the concrete right the first time:
Ten minutes. Permanent leverage.
1. Create the Account & Set the Time Zone
Click Start Now on the signup page.
In Tell us about your business, enter your site and, if you like, a business name. Google will surface any YouTube, GA, or other properties on your login - link them or hit Skip.
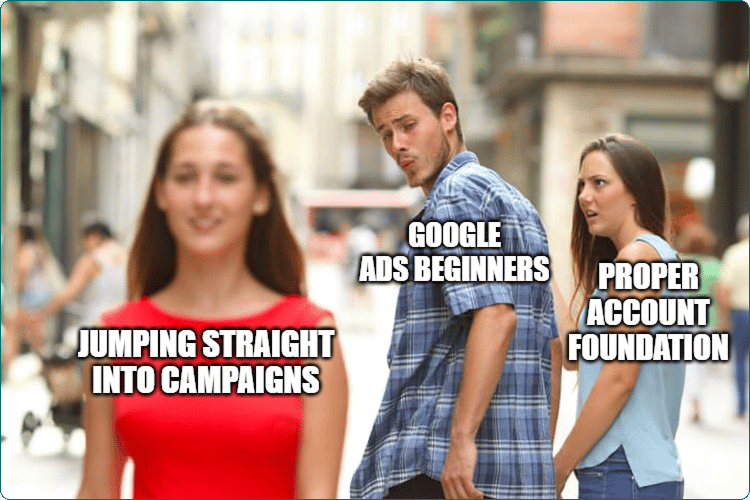
Google then drags you into campaign setup. Dodge it: Skip goal → Skip campaign → Leave campaign creation. Three clicks, zero detours.
Next comes the critical screen: Billing country, Time zone, Currency. Stop and triple‑check the time zone. Changing it later means a support form and a multi‑day wait.
Fill in billing, click Submit, and you’re finally in the real UI.

Ensure these are correctly set up
2. Wire the Feedback Loop: Enable Auto‑tagging
Auto‑tagging adds a gclid calling card to every click, letting your CRM marry cost with pipeline. Your future smart‑bidding self will thank you.
Path: Admin → Account Settings → Auto‑tagging → ✔.

Admin → Account Settings → Auto-tagging
A client once bragged about their 6% click-through, $2 CPC. Looked great, until we peeked at the CRM: 200 leads. 3 sales calls booked.
So we wired Google Ads to talk to their CRM. Enter auto-tagging: each click started carrying a secret handshake - gclid. Suddenly, our pipeline wasn’t a black box. Every sales stage (not just form fills) flowed back to Google.
Here’s what changed:
Bids chased real SQLs, not just pretty clicks.
Dead-end keywords starved; closers got the fuel.
The feedback loop made Google’s AI smarter - our pipeline filled itself.
3. Define Success: Set Up Your First Conversion
Before you sync offline sales, let’s make sure Google Ads is tracking at least one “success” on your site (like a form fill or purchase).
There are two ways to set up a conversion:
Method 1: Fast-Track with a URL (Recommended)
Use this if you want to track a page load (like a ‘Thank You’ page) as a conversion.
It’s the quickest, easiest setup, no coding or customization needed.
Method 2: Manual Setup for Events (Clicks & Custom)
Use this if you want to track specific button or link clicks, or need more control (like tracking order value, IDs, or custom logic).
Slightly more setup - may need Google Tag Manager or developer help.
Our take: Start with Method 1 if you just want to prove your conversions work. Upgrade to Method 2 if you need more granular tracking later.
How to set up an online conversion:
(Method 1: Fast-Track with a URL)
Go to: Goals → Conversions → Summary.
Click the “+ Create Conversion Action” button.
Choose “Website.”
Enter your website URL and click “Scan.”
Select a goal (e.g., ‘Submit lead form’ for form fills) and Event type.
Add the relevant page or event (like a ‘Thank You’ page or button click).

Click on ‘See more settings’ to customize further:
Conversion name: Use a clear, specific label (e.g., “Contact Form Submit - Homepage”).
Value: Set a value for the conversion. This tells Google’s AI what’s important to you. (We’ll cover this in more detail in a later article on conversion funnels)
Click-through conversion window: Adjust to 30 or 60 days as needed.
Leave other settings as default.

Done → Save and continue.
Now, every qualified action gets tracked and optimized for - so you spend on results, not just traffic.
Tip: Test your setup with a dummy submission to make sure conversions are recording.
(Let me know in the comments if you’d like me to cover method 2 as well in detail.)
4. Silence the Noise: Disable Auto‑apply
Google offers 22 auto‑apply types ranging from “Add broad match keywords” to “Use Display Expansion”. Helpful if you enjoy surprise makeovers.
Click on “Go to auto-apply settings” and then “Deselect all”. Your future self will thank you when change history still resembles your roadmap.

Deselect all
5. Guardrails First: Account‑level Negative Keywords
Every irrelevant click steals budget from qualified buyers. Block the obvious culprits once, centrally.
Starter buckets:
Bucket | Example keywords |
|---|---|
Careers & Hiring | careers, jobs, salary, internship |
Investors & Funding | investors, “series a”, crunchbase |
Support Queries | login, “help desk”, “knowledge base” |
Education Intent | tutorial, definition, course |
You can find the full list in this negative keywords template. Copy+Paste as is (broad & phrase match modifiers in use) while being mindful of your business requirements.
Wrap‑up: Pour the concrete before you lift
This Minimal Viable Account Setup is the footing that soaks up every pound of leverage you’ll throw at it later, clean data in, noise out from day one. Lay the slab right and the heavy lifting (campaign builds, smart bidding, scripts) can rise fast instead of tilting under its own weight.
Next up → Part 2: Google Search Ads Campaign Setup
About Me
I’m Suyash – badminton junkie, ex‑GroupM ad‑ops grunt, first marketer at a B2B SaaS startup, and creator of Otto, the paid‑search autopilot.
My mission: think, so you can click less.
Let’s build leverage together.
